Hello there!
My name is Liz, and you’re going to be seeing some of my recipes in the future. Foodie Fiasco has reached over 9 million views and is gaining a greater following, so Kelly decided to expand her team to help Foodie Fiasco continue to grow. That’s where I come in.
My wonderful friend and fellow food enthusiast Kelly has brought me onto the team as a recipe contributor. Honestly, I couldn’t be more excited! I’ve been a huge fan of Foodie Fiasco ever since I met Kelly, and I’m still in awe that I have the opportunity to contribute to its success.
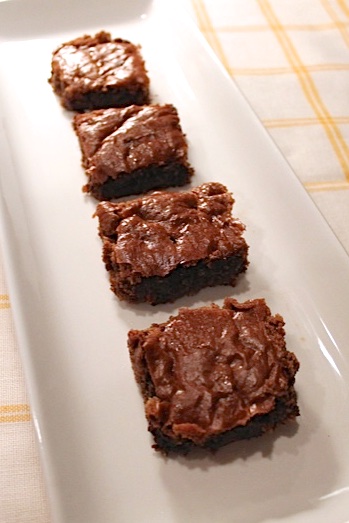
Now, let’s get onto the good stuff. If I could pick one food to eat for the rest of my life, it would be almond butter. I don’t know if it’s made of liquid gold or what, but I swear, it’s magical. Unfortunately, after a while, eating almond butter with a spoon straight from the container can get mundane, so I wanted to find a new way to consume my favorite treat without slapping on the pounds.
Well, I found it.
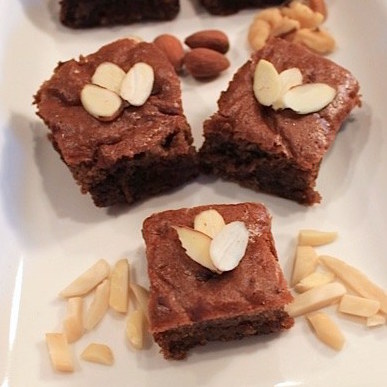
The main ingredient in these “Legally Blondies” is almond butter. Already a major thumbs up. But wait, what makes these blondies “legal,” for your diet that is, is the fact that they’re paleo, which means they’re gluten-free, grain-free, refined-sugar free, and dairy-free. I know, it’s magnificent.
Make sure to assemble all of the ingredients to bake your “Legally Blondies.” I recommend using Whole Food’s 365 Organic Almond Butter because the smoothness of the butter gives the blondies a wonderful consistency. Try to avoid eating all of the almond butter from the jar before you actually start baking. Trust me, as tempting as it maybe be, you’ll need some for the recipe. (But a little sampling here and there won’t hurt anyone.)
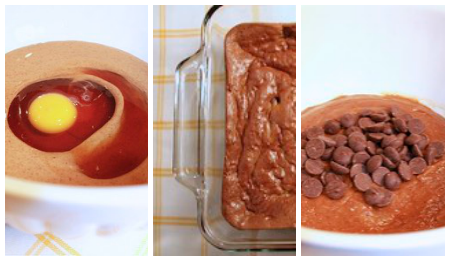
Now it’s mixing time. Combine all the ingredients together, minus the dark chocolate chips, and stir until they’re evenly combined. It’s important to not over stir this batter, or else the almond butter will become extra sticky, and it will be a pain to get out of the bowl.
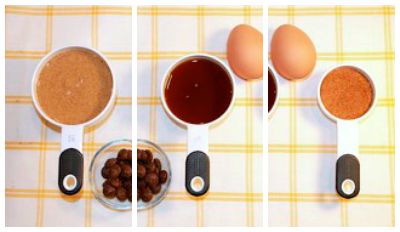
This might be my favorite part of the whole process: adding the dark chocolate chips. I recommend using organic dark chocolate chips because they taste fresher and are less processed than regular chips. (P.S. Sampling the chips is highly encouraged.)
Finally, it’s baking time. Grease up an 8×8 baking pan with coconut oil cooking spray and pour your “Legally Blondies” into the pan. Allow them to bake for about 15-20 minutes at 350 degrees. They may have to go a little longer if the almond butter you use is extra runny. You’ll know the blondies are done when a tooth pick comes out clean and they’ve puffed up and turned golden brown.
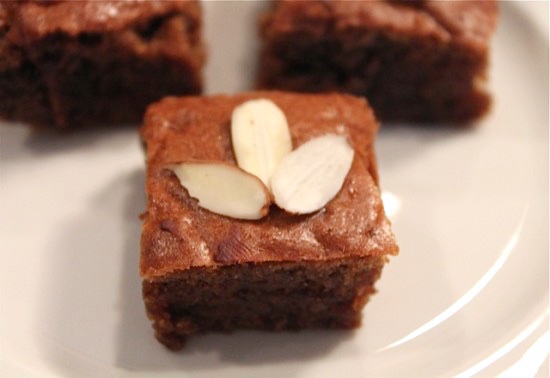
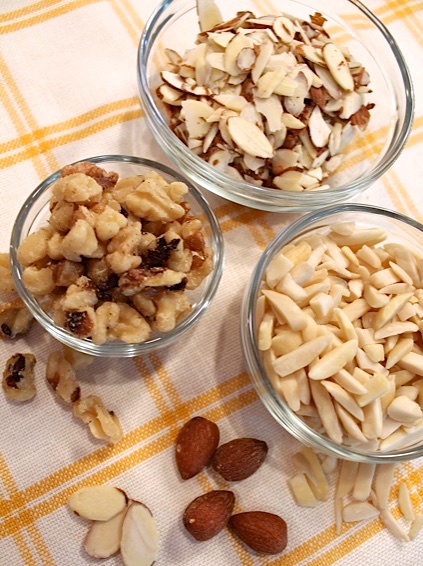
Let your blondies cool for 10 minutes before you slice them, then top them off with sliced almonds in any type of design that appeals to you. If you want to shake things up and try a different type of nut, I recommend going with halved walnuts, as walnuts go well with virtually any type of baked goods.
Once you’ve let your “Legally Blondies” cool for 10 minutes, topped them with almonds, and sliced them, all that’s left is to mentally prepare yourself to question why you’ve never tried paleo baked goods in the first place. Not eating the whole pan immediately will be a serious test of self control. I had to give nearly 3/4 of the whole batch to my boyfriend just so I wouldn’t eat the whole thing. He loves them. He’s always asking for them, which is great because it just gives me an excuse to cook more! We have a fabulous relationship over here.
- 1 ½ cups creamy almond butter
- ½ cup maple syrup (or ½ cup erythritol plus ⅓ cup almond milk)
- ¼ cup coconut sugar or erythritol
- 1 large egg (or vegan substitute)
- 1 teaspoon baking soda
- ½ teaspoon salt
- 2 ounces dark chocolate, chopped
- Preheat oven to 375°F. Grease a 8x8 baking dish and set aside.
- In a large bowl, combine the almond butter, maple syrup or erythritol plus almond milk, coconut sugar or erythritol, egg, baking soda, and stir until uniform. Fold in the dark chocolate.
- Bake at 375°F for 15-18 minutes or until golden brown and firm and a toothpick inserted into the center comes out clean. Let cool before slicing into bars.
I truly hope this recipe makes its way into your kitchen and finds a permanent place in your baking arsenal. Thank you so much for getting to know me through this post, and I look forward to delivering more recipes in the future!
 Healthy Ratatouille
 Healthy (Oil Free) Hummus
 Healthy Seven Layer Bars
 Healthy Homemade Pop Tarts

 Chocolate Peanut Butter Protein Bars {Vegan + Low Carb + High Protein}
 Moroccan Chickpea Stew
 PB+J Dessert Pizza
 Carb Free Cheese Crisps
Comments